Hey python geeks, here is a very interesting tutorial for you, so welcome to Python Turtle Module tutorial. In this tutorial, you will learn about turtle module in python, how to create graphics in python using turtle and many more. I am gonna sure, you will really enjoy this awesome tutorial. So lets start the tutorial without wasting time.
Graphics designing is so much funny and everyone enjoy this. You can also design graphics in python. Are you thinking, How ? – then follow this tutorial till end.
As we all know, Python is most popular language for current time. You can do any thing with python. So if you are thinking about what can you do with python then read this article python applications, that will give you a brief information of the areas where you can use python.
Python Turtle Module – Design Your imagination With Turtle
Give a look on below picture, that is looking really awesome and attractive. Can you imagine, you can design these graphics in python. Yes you can design these types of graphics and many others in python too and that is possible because of Turtle module.
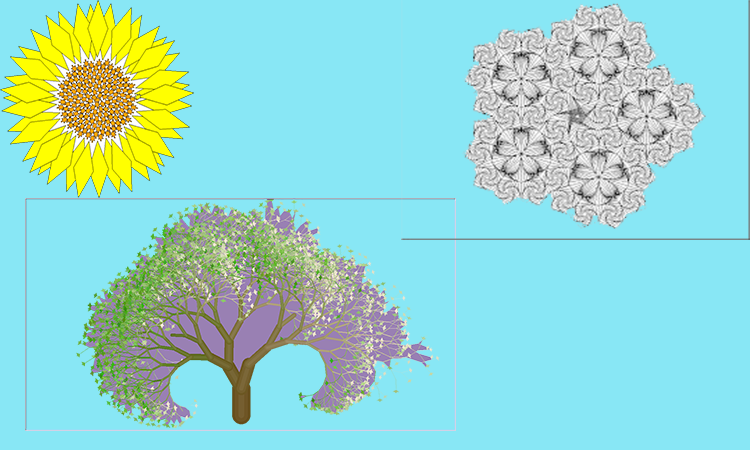
So now question is that what is turtle. And now i am going to explain everything about turtle, so stay with patience till the end, because this tutorial is going to be long.
What Exactly Is Turtle ?
- Turtle is a built in module in python.
- It was part of the original Logo programming language developed by Wally Feurzig and Seymour Papert in 1966.
- Using turtle you can draw any shape, image on the screen and it is fun to work with turtle graphics.
- The great use for turtle is teaching kids basic programming. The young ones are fascinated by visually appealing designs rather than text.
- Turtle is a toolkit that provides a simple and enjoyable way to draw pictures on windows or screen.
- We can say that, turtle graphics controlling a graphical entity in a graphic window with x,y coordinates.
Python Turtle Module Tutorial – Setting Turtle Screen
In this tutorial, I will make Python more practical for you and also fun. So I will do my best to make every bit of this tutorial exciting. So let’s start.
Creating A Turtle Window
First of all we will learn how to create a turtle window. So for this write the following code.
|
1 2 3 4 5 |
import turtle my_turtle = turtle.Turtle() #creating a turtle turtle.done() |
Explanation
- First of all you have to import turtle module.
- The next thing is to initialize a turtle object from Turtle() class. You can give any name to turtle object.
- When you will run the code snippets of this tutorial in any Python IDE you will notice that the turtle window will open and close immediately.
- To allow the turtle window stay so you can see the output of your program, include turtle.done() in your program. It should be the last statement of your program.
- And now let’s check how the turtle window looks like. So run this code.
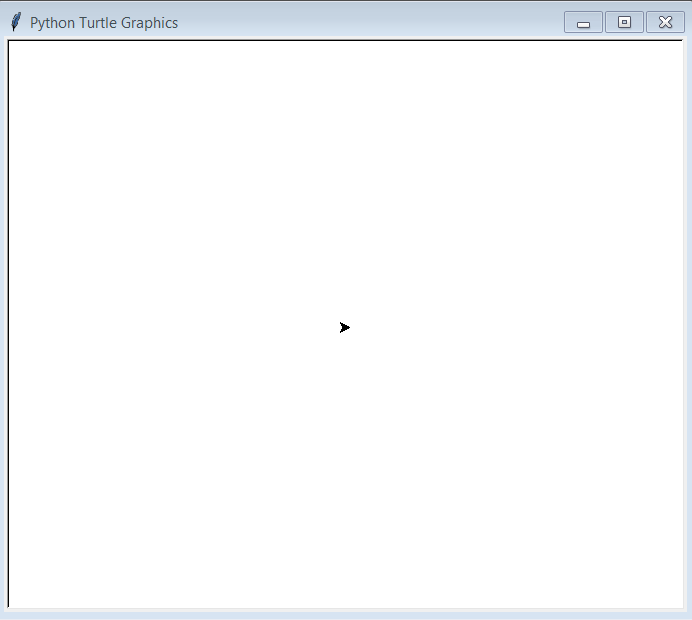
- In the turtle window, you can see a arrow head at the centre of the window and it is pointing towards the right. This is the default position.
- (0,0) is the default position of a turtle which is centre of window.
Changing Turtle Window Background Color
- The default window color is white, which may be boring for you or may be some time you need some attractive background for your application.
- Let’s see how to change turtle window background color.
|
1 2 3 4 5 6 7 |
import turtle my_turtle = turtle.Turtle() my_turtle.shape("turtle") my_turtle.screen.bgcolor("aqua") #specify window background color turtle.done() |
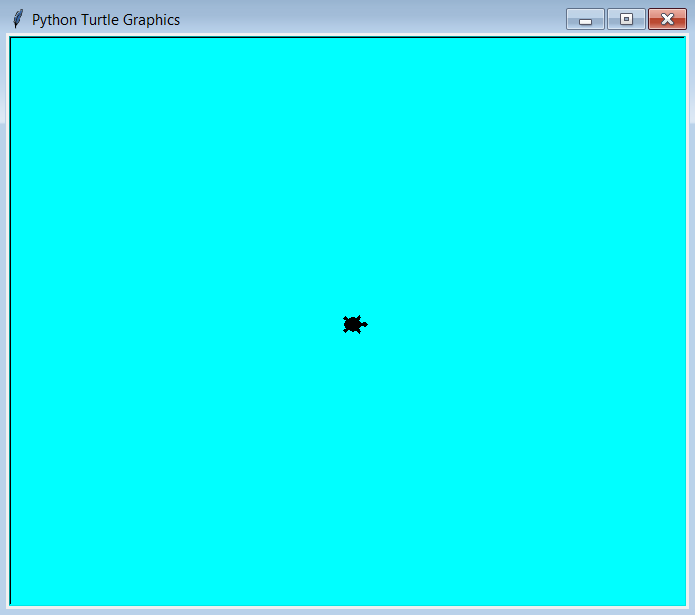
- For changing window background color, you have to use screen.bgcolor() method
- The screen.bgcolor() method accepts one argument which is the color of the turtle window and it should be string.
And now you will get an attractive window, amazing.
Setting Turtle Window Background Image
You can also set background image in turtle window. For this write the following code.
|
1 2 3 4 5 6 7 |
import turtle my_turtle = turtle.Turtle() my_turtle.shape("turtle") my_turtle.screen.bgpic("turtle1.png") # set background image turtle.done() |
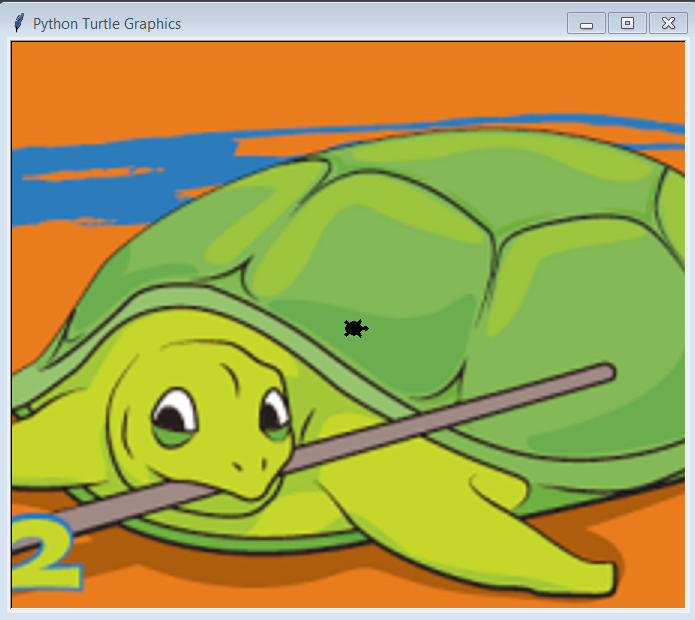
- bgpic() method is used to set the window background image.
- It takes an argument that is image name and must provide the format of image.
- The image must be placed in the same folder where your python file is placed.
So let’s see the result –
Changing Turtle Title
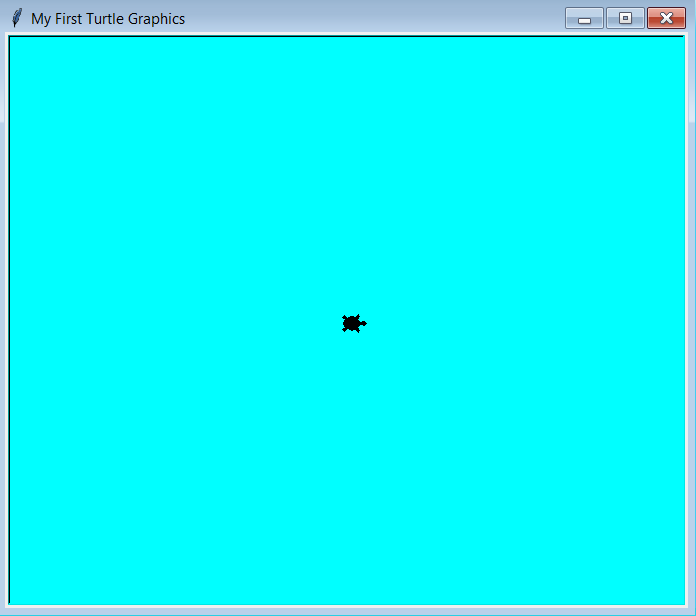
Python Turtle Graphics is default title of turtle, but you can also change turtle title according to your choice. So write the following code for changing title.
|
1 2 3 4 5 6 7 8 |
import turtle my_turtle = turtle.Turtle() my_turtle.shape("turtle") my_turtle.screen.bgcolor("aqua") my_turtle.screen.title("My First Turtle Graphics") #set title turtle.done() |
And the result is –
Python Turtle Module Tutorial – Customizing Turtle
Changing Turtle Color
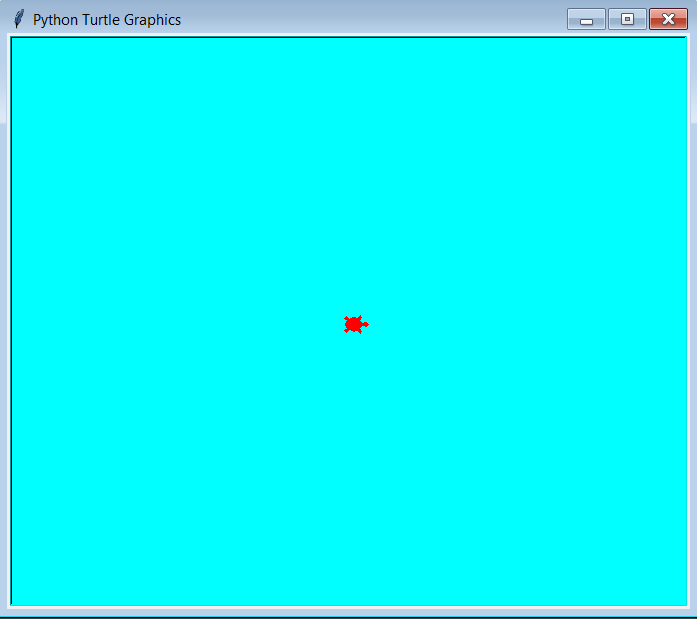
For changing color of turtle, you have to use color() method of turtle module.
- color() method takes color name as argument.
- So write the following code.
|
1 2 3 4 5 6 7 8 |
import turtle my_turtle = turtle.Turtle() my_turtle.shape("turtle") my_turtle.screen.bgcolor("aqua") my_turtle.color('red') #specify turtle color turtle.done() |
Now see the result –
Changing Turtle Shape
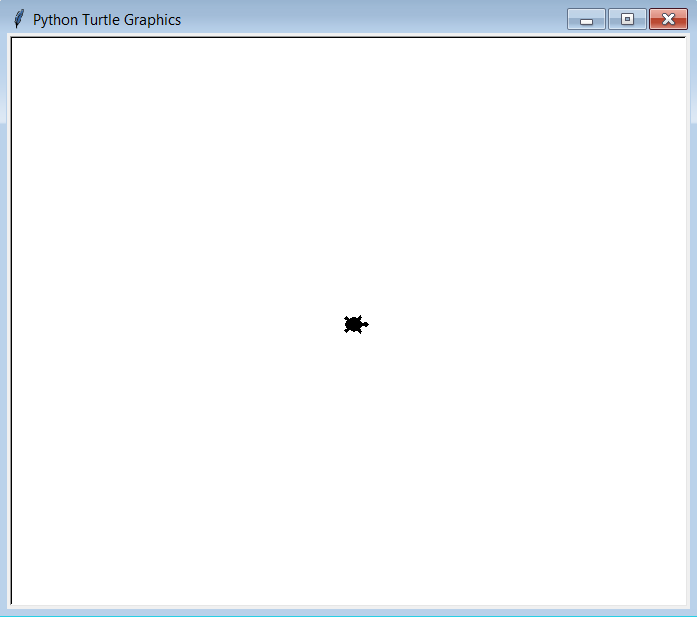
Now you are thinking that, a turtle is to be created but there is a arrow, what’s the logic for this. So the best thing is that even you can change this shape. So write the following code.
|
1 2 3 4 5 6 |
import turtle my_turtle = turtle.Turtle() my_turtle.shape("turtle") #specify shape of turtle turtle.done() |
- For specifying a particular shape of turtle, what you need is to specify a turtle shape into shape().
- Let’s see the result.
Finding Available Shape Of The Turtle
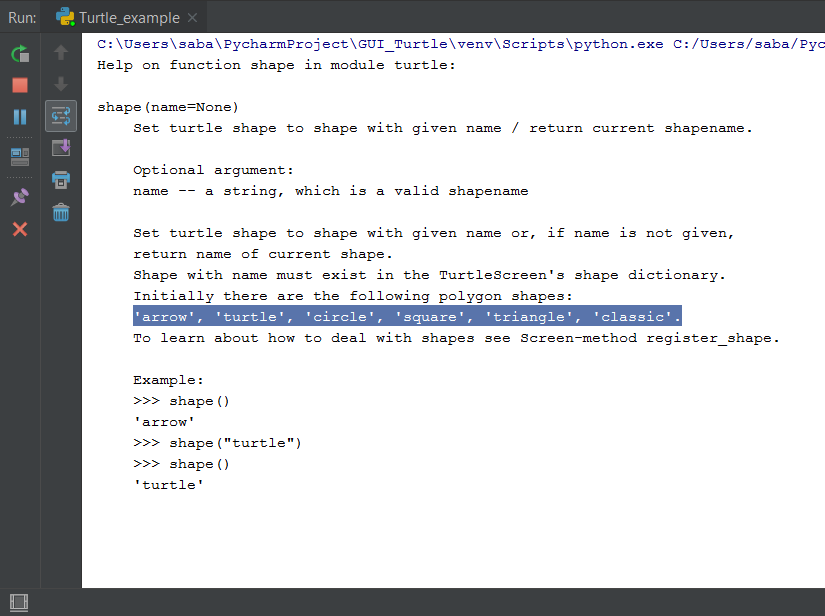
If you want to know that which type of shape can you draw then run the following command for checking supported shapes by turtle module.
|
1 2 3 4 |
import turtle help(turtle.shape) |
On running this code you will get following result –
Increasing Turtle Size
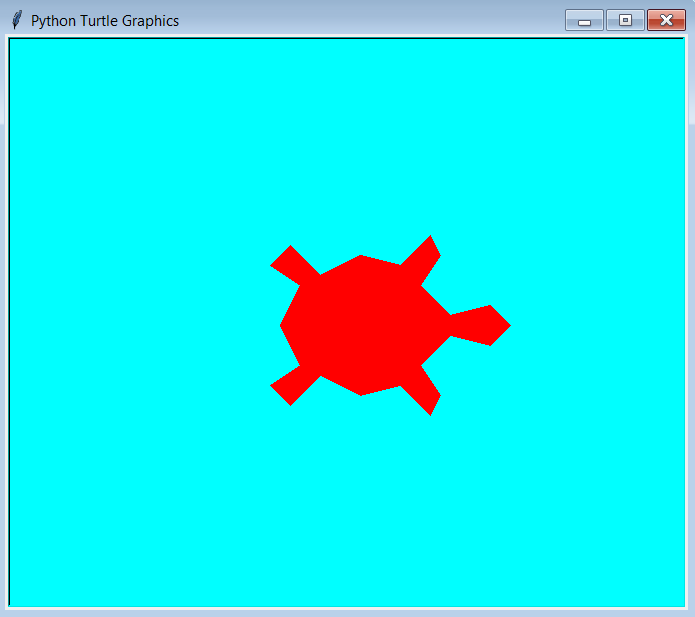
You can also increase the size of turtle. shapesize() method is used to increase the turtle’s size. It takes an argument in integer form. So write the following code.
|
1 2 3 4 5 6 7 8 9 |
import turtle my_turtle = turtle.Turtle() my_turtle.shape("turtle") my_turtle.screen.bgcolor("aqua") my_turtle.color('red') my_turtle.shapesize(10) #specify turtle size turtle.done() |
Result
Hiding The Turtle
Now if you want to hide the turtle, you can do so.
- hideturtle() method is used to hide the turtle.
- So write the following code for implementing it.
|
1 2 3 4 5 6 7 8 |
import turtle my_turtle = turtle.Turtle() my_turtle.shape("turtle") my_turtle.screen.bgcolor("aqua") my_turtle.hideturtle() # hide the turtle turtle.done() |
Result
You can see, there is no turtle because it is hidden.
Python Turtle Module Tutorial – Turtle Movement
In this section we will discuss about turtle motions. There is nothing but how to move turtle in different directions. By default turtle is placed in (0,0) and this is called home position.
Changing Turtle Movement
You can move turtle either in forward or backward direction.
Forward Movement
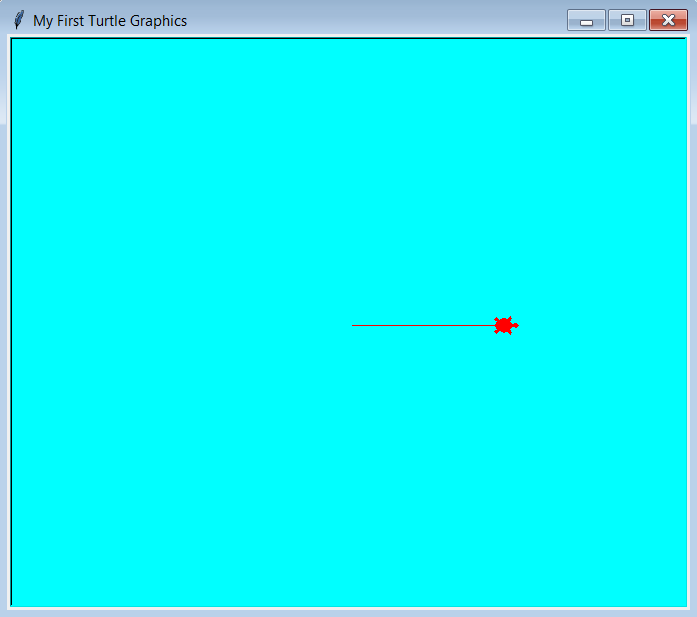
If you want to move turtle forward, you have to use forward() method.
- forward() method moves the turtle forward by the specified distance, in the direction
the turtle is headed. - It takes an argument i.e., distance, that must be integer or float.
- forward() and fd() are same, you can use any one.
So to move turtle forward, write the following code –
|
1 2 3 4 5 6 7 8 9 10 |
import turtle my_turtle = turtle.Turtle() my_turtle.shape("turtle") my_turtle.screen.bgcolor("aqua") my_turtle.color('red') my_turtle.screen.title("My First Turtle Graphics") my_turtle.forward(150) #forward turtle to 150 turtle.done() |
Let’s see the result –
Backward Movement
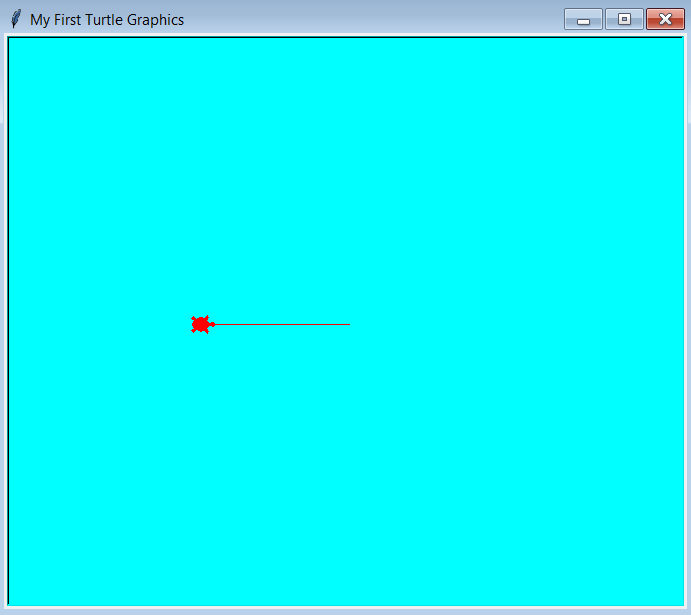
If you want to move turtle backward, you have to use backward() method.
- backward() method moves the turtle backward by distance ,opposite to the direction the
turtle is headed. Do not change the turtle’s heading. - It takes an argument i.e., distance, that is number.
- backward(), bk() and back() are same, you can use any one.
So to move turtle backward, write the following code –
Changing Turtle Direction
By default, turtle faces towards east but you can also change the direction of heading of turtle.
- setheading(“angle”) method is used to set the head of turtle.
- This method takes angle as an argument.
Let’s see this with an example, so write the following code –
|
1 2 3 4 5 6 7 8 9 10 11 12 13 14 15 16 17 18 19 20 21 22 23 24 25 26 27 28 29 30 31 32 33 |
import turtle #create first turtle my_turtle1 = turtle.Turtle() my_turtle1.shape("turtle") my_turtle1.screen.bgcolor("aqua") my_turtle1.color('yellow') my_turtle1.setheading(180) #create second turtle my_turtle2 = turtle.Turtle() my_turtle2.setposition(50,0) # set position my_turtle2.shape("turtle") my_turtle2.color('red') my_turtle2.setheading(90) #create 3rd turtle my_turtle3 = turtle.Turtle() my_turtle3.setposition(100,0) my_turtle3.shape("turtle") my_turtle3.color('blue') my_turtle3.setheading(360) #create 4th turtle my_turtle4 = turtle.Turtle() my_turtle4.setposition(150,0) my_turtle4.shape("turtle") my_turtle4.color('black') my_turtle4.setheading(270) turtle.done() |
Here i have created four turtles for showing heading. Meaning of angles is following :
Angle 90 = East
And Angle 180 = West
Angle 270 = South
Angle 360 = North
And the result of this code is following –
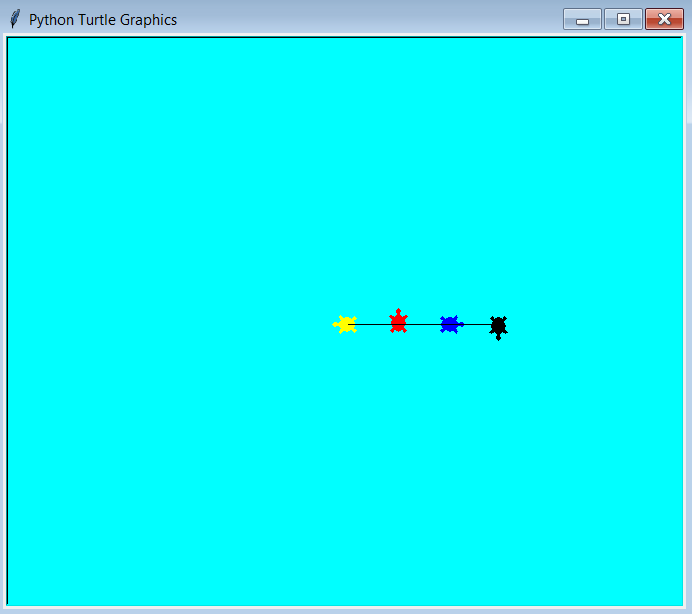
In the result, You can see that Yellow turtle is facing towards West direction, Red turtle is facing towards North direction, Blue turtle is facing towards East direction and Black turtle is facing towards South direction.
Rotating Turtle
Now we will rotate our turtle. It can be rotated either to the left or to the right at the angle specified.
Left Rotation
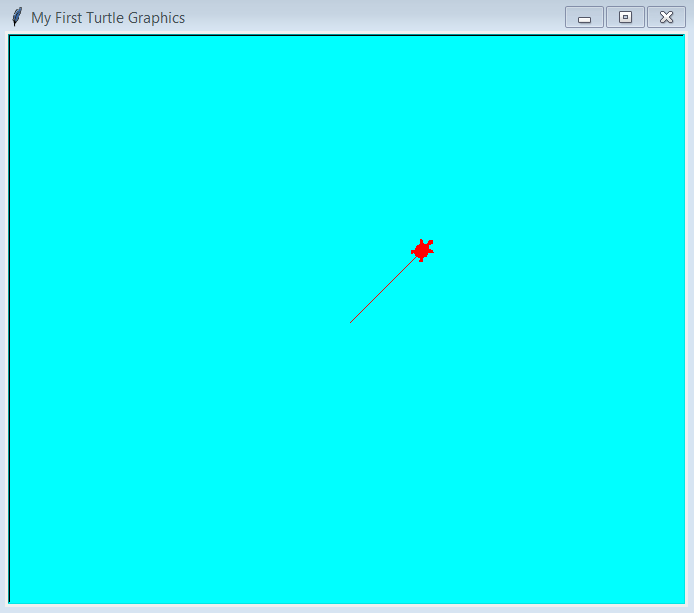
- left(angle) function turn turtle left by angle units.
- Units are by default degrees, but can be set via the degrees() and radians() functions.
- left() and lt() are same.
So write the following code for rotating turtle to the left.
|
1 2 3 4 5 6 7 8 9 10 11 |
import turtle my_turtle = turtle.Turtle() my_turtle.shape("turtle") my_turtle.screen.bgcolor("aqua") my_turtle.color('red') my_turtle.screen.title("My First Turtle Graphics") my_turtle.left(45) # turn turtle left by 45 degree my_turtle.forward(100) # move turtle turtle.done() |
Result
Right Rotation
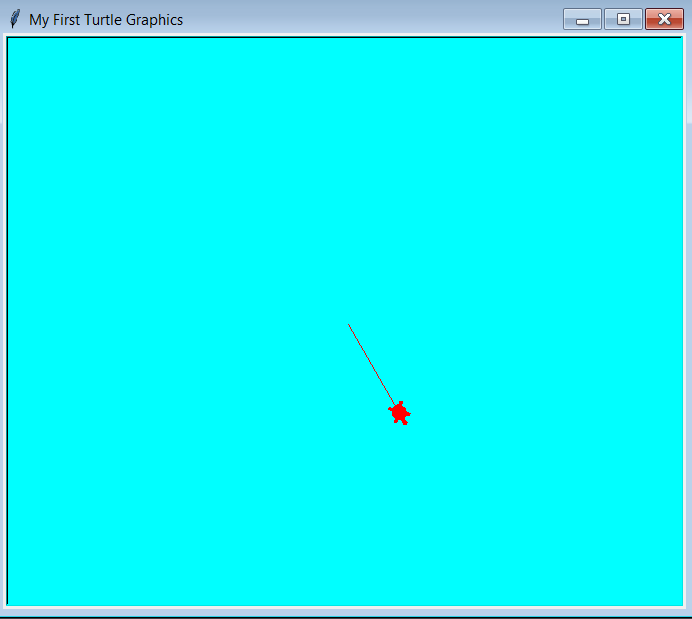
- right(angle) function turn turtle right by angle units.
- Units are by default degrees, but can be set via the degrees() and radians() functions.
- right() and rt() are same.
So write the following code for rotating turtle to the right.
|
1 2 3 4 5 6 7 8 9 10 11 12 |
import turtle my_turtle = turtle.Turtle() my_turtle.shape("turtle") my_turtle.screen.bgcolor("aqua") my_turtle.color('red') my_turtle.screen.title("My First Turtle Graphics") my_turtle.right(60) # turn turtle right by 60 degree my_turtle.forward(100) # move turtle forward turtle.done() |
Result
Python Turtle Module Tutorial – Design A Fractal Tree Using Turtle
Now you will learn to design a most amazing graphic that is fractal tree. It is very attractive and beautiful. So let’s design it in python using turtle module.
First of all you have to understand, what is fractal tree – A binary fractal tree is defined recursively by symmetric binary branching.
The trunk of length 1 splits into two branches of length r, each making an angle q with the direction of the trunk. Both of these branches divides into two branches of length r2, each making an angle q with the direction of its parent branch.
Continuing in this way for infinitely many branchings, the tree is the set of branches, together with their limit points, called branch tips.
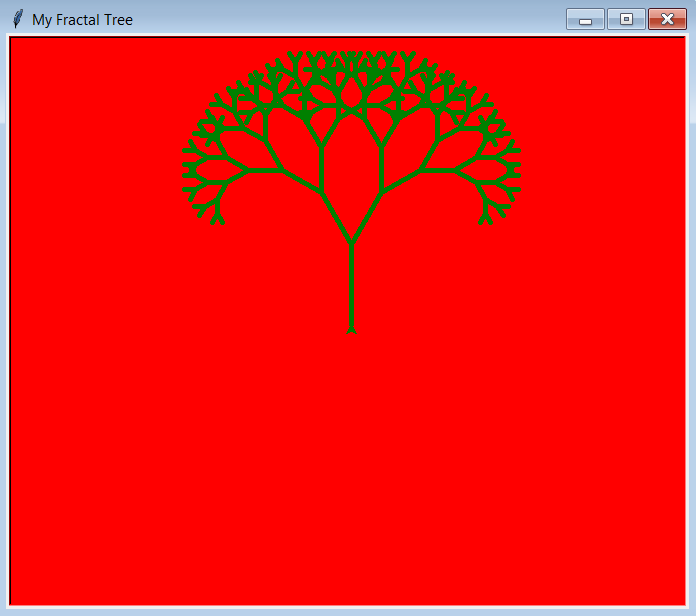
This is our fractal tree that is looking awesome and we have to design this using turtle. I am designing this using recursion. Learn more about Recursion.
Let’s write the following code –
|
1 2 3 4 5 6 7 8 9 10 11 12 13 14 15 16 17 18 19 20 21 22 23 24 25 26 |
import turtle as tu my_turtle = tu.Turtle() # create a turtle my_turtle.screen.bgcolor('red') #Set turtle screen color my_turtle.left(90) # turn turtle left by 90 my_turtle.speed(20) # set speed of turtle my_turtle.color('green') #set turtle color my_turtle.pensize(5) # set turtle pensize i.e thickness of lines my_turtle.screen.title("My Fractal Tree") #set turtle title # recursive function def draw_fractal(blen): if(blen<10): # set limit to fractal because it repeats itself infinetly return else: my_turtle.forward(blen) my_turtle.left(30) draw_fractal(3*blen/4) my_turtle.right(60) draw_fractal(3*blen/4) my_turtle.left(30) my_turtle.backward(blen) draw_fractal(80) #call the function my_turtle = tu.done() |
Let’s see the process of designing fractal tree in python.
Now, if you want to create fractal with multicolor then add some lines into the previous code.
|
1 2 3 4 5 6 7 8 9 10 11 12 13 14 15 16 17 18 19 20 21 22 23 24 25 26 27 28 29 30 31 32 |
import turtle as tu import random # import random module my_turtle = tu.Turtle() my_turtle.screen.bgcolor('red') my_turtle.left(90) my_turtle.speed(20) my_turtle.color('green') my_turtle.pensize(5) my_turtle.screen.title("My Fractal Tree") def draw_fractal(blen): # add these two lines sfcolor = ["white", "blue", "purple", "grey", "magenta"] my_turtle.color(random.choice(sfcolor)) if(blen<10): return else: my_turtle.forward(blen) my_turtle.left(30) draw_fractal(3*blen/4) my_turtle.right(60) draw_fractal(3*blen/4) my_turtle.left(30) my_turtle.backward(blen) draw_fractal(80) my_turtle = tu.done() |
And now your fractal tree is more attractive and beautiful. Let’s see –
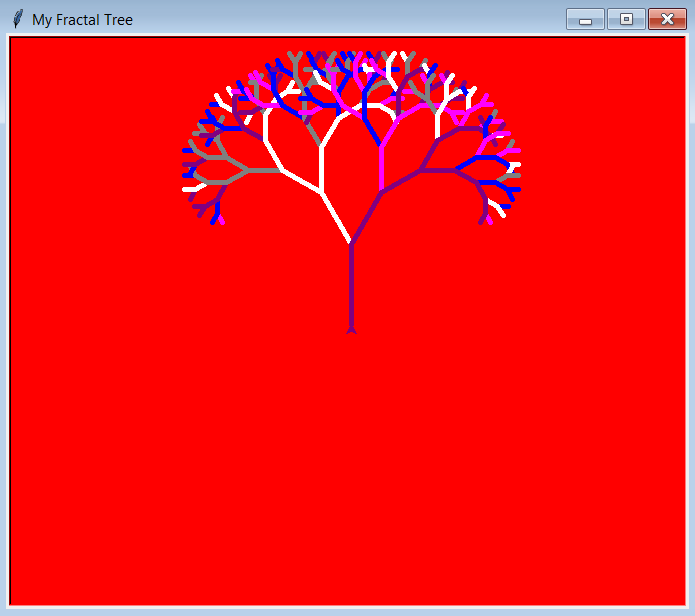
So guys i hope, you enjoyed creating fractal tree in python.
Related Articles :
- Python NumPy Tutorial – Getting Started With NumPy
- Wikipedia API Python – Scrapping Wikipedia With Python
- Python Template Class Tutorial For Beginners
- Best Python Book For Beginners – Choose A Best Python Book
- Python Number Guessing Game – Implement Number Guessing Game With
So this was all about Python Turtle Module tutorial. I hope it will be very helpful for you. And you can share your experience of designing turtle graphics with me. If you have any doubt regarding this post then leave your comment in comment section. In the next tutorial, i will teach you to design some special and attractive turtle graphics designs, till then stay tuned with Simplified Python. Thank You


This really helped me out in school and now I know how to do this thanks.