welcome to Python Browser Automation Using Selenium tutorial. In this tutorial you will learn browser automation in python. Browser Automation is very helpful to automate web browser to perform repetitive and error-prone tasks, such as filling out long HTML forms. So let’s start Python Browser Automation.
In today’s world, technology is EVERYWHERE. Everything is remote control these days, even your fireplace is remote controlled, even your toilet is remote controlled. But the problem is that we have to control 50 or more devices on daily basis. Automation helps everything works together. For example – you have to watch a movie, so with the help of automation you have to select only watch movie option and all the devices will be start automatically. Such as – starting the projector, starting all the sound system, setting of room temperature etc, all these are done automatically. So this leads to make our life simple.
Automation minimizes chances of errors. And now let’s give a quick look on browser automation.
What Is Browser Automation ?
Before understanding browser automation, we have to understand about automation.
What Is Automation ?
We have testing. Testing is mainly divided into two streams – one is functional and another one is non-functional. In functional, we have two types of testing.
- Manual Testing : In manual testing, our main activity is write the test cases and these test cases will be executed manually by some resource that is Test engineer.
- Automation Testing : In automation testing, all the manual test cases will be converted to Test scripts with the help of some tools like selenium, QTP, RFT etc.
And now you may get one doubt i.e., in manual testing you are writing test cases and executing test cases and in automation you are doing the same activity, then why we use automation. So for clearing this doubt we will see advantages of automation.
Advantages Of Automation
- Saves time
- Reduces Cost To Company(CTC)
- Maintain accuracy
- Scripts are repeatable
- Identifying bugs
- Better quality
Now we will discuss about browser automation.
Browser Automation
- Browser automation tools can automate your Web browser to perform repetitive and error-prone tasks, such as filling out long HTML forms.
- Web browser automation tools work by recording the series of steps that make up a specific transaction, and then play it back by injecting JavaScript into the target web pages, and then tracking the providing the results.
- These web automation tools resemble macros, but are much more flexible and sophisticated.
Why Browser Automation
We use browser automation for the following reason –
- Testing Web Applications
- Web Scraping
- Automate anything
In this tutorial we will use selenium for browser automation. So let’s give a quick look on Selenium.
what is Selenium
Introduction
- Selenium is an open source automation testing tool.
- It is used exclusively for web based applications.
- You can work on multiple operating systems using selenium.
- Selenium was originally developed by Jason Huggins in 2004 as an internal tool at ThoughtWorks.
- It is portable.
Platforms Supported By Selenium
- Windows
- Solaris
- Linux
- OS X
Languages And Frameworks Can Be Used With selenium
- Java
- C#
- Ruby
- Python
- PHP
- Pearl
- Scala
- Groovy
Browsers Supported By Selenium

- Internet explorer
- Safari
- Chrome
- Firefox
- Opera
Working in all browsers,works on all operating system and can be written in any languages,it is free of cost,so all these things made Selenium as a hotcake in market.
Python Browser Automation Using Selenium – Getting Started
So now we will start browser automation in python using selenium tool. So let’s get’s start.
Downloading And Installing Chrome Driver
Here i am using chrome browser, so we have to download and install chrome driver. If you want to work with any other browser then download and install that particular driver. So for installing driver you have to follow these steps:
- Download chrome driver from this link .You have to download chrome driver according to your operating system.
- Copy the downloaded file and paste it into your C drive.
Creating New Project
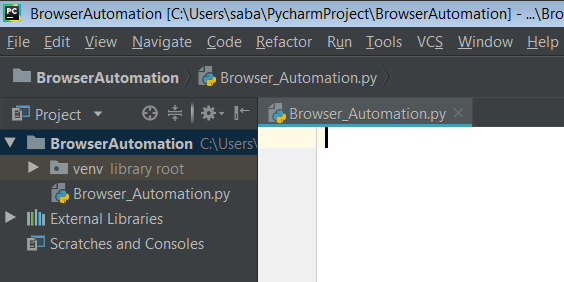
Now open your Python IDE and create a project and inside this project create a python file. My project is like that.
Installing Selenium Webdriver
In your project go to File->Setting->Python Interpreter.
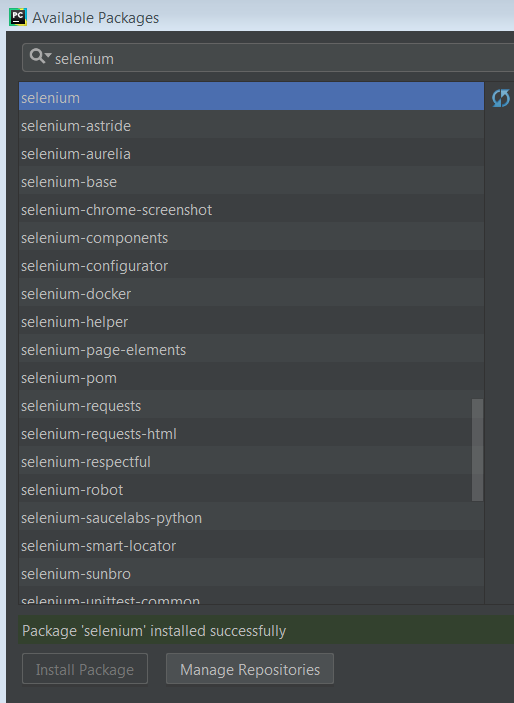
Now, click on Install Package, this way Selenium webdriver will be successfully installed.
Now we will see, what we can do with selenium.
Importing selenium
|
1 2 3 |
from selenium import webdriver |
It is used for control browser and web page elements.
Opening the Browser
Now we have to open a browser.For this,you have to write the following code.
|
1 2 3 |
driver = webdriver.Chrome('C:\\SeleniumDriver\\chromedriver.exe') |
- webdriver.Chrome will open the chrome browser.
- It may be take argument or not.You have to provide path of your chrome driver where it is installed. If you have already set the path in Environment Variable then there is not required to pass the path.
- variable driver is used to store the object of webdriver.Chrome.
Opening the Desired Webpage
Now, we have to open the webpage that we want to automate. In this example, i want to open simplifiedpython web page.
|
1 2 3 |
driver.get('https://www.simplifiedpython.net/') |
- Copy the url of simplifiedpython and pass it as argument.
- get() method is used to open the entered webpage.
Now let’s see the result.
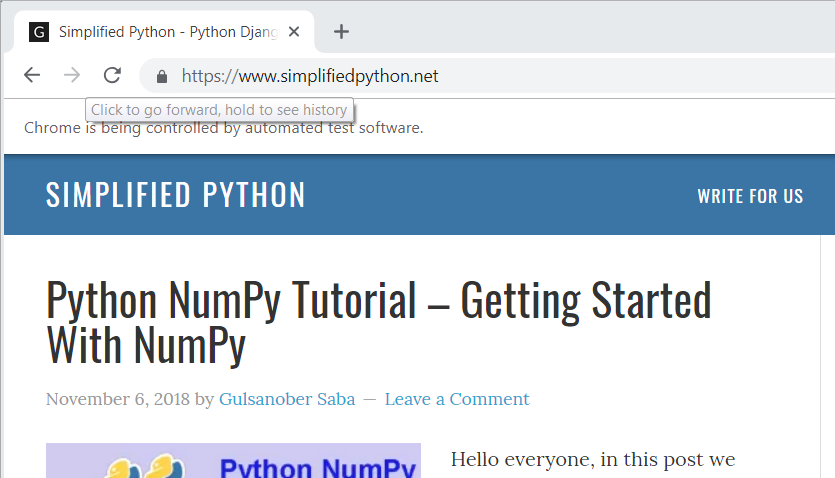
Now, you can see simplified python webpage has been opened. Yeah this is amazing.
Searching Elements
There are multiple ways in order to search an element in a webpage. So we will have a look on them one by one.
Locating Elements – Find Element By Id
- You can use this when you know the Id attribute of an element.
- With this strategy the first element with Id attribute value matching the location will be returned.
- If no element has a matching value attribute, a no such element exception will be raised.
- id is the unique CSS selector which is used while making the websites.
- So understanding this mechanism let’s implement it.
|
1 2 3 4 5 6 7 8 9 |
from selenium import webdriver driver = webdriver.Chrome('C:\\SeleniumDriver\\chromedriver.exe') driver.get('https://www.seleniumhq.org//') element = driver.find_element_by_id("q") element.send_keys("python") #it will send the python in search bar |
Now the question is that how can we find id of an element. So for this follow the following process.
- Go to your webpage. In this example i am opening https://www.seleniumhq.org// page and finding the id of search bar.
- Now right click on the search bar and just click the Inspect option.You will find the below code.

- And you can see id is q so i am passing id q.
And the output is as below. You can see in the search bar python has been printed.

Locating Elements – Find Element By Name
- With this strategy the first element with name attribute value matching the location will be returned.
- If no element has a matching value attribute, a no such element exception will be raised.
The process of finding name attribute is similar to finding id attribute, and we have seen it already. So see the name attribute.
![]()
Write the following code for implementing this strategy.
|
1 2 3 4 5 6 7 8 9 10 |
from selenium import webdriver #from selenium.webdriver.common.keys import keys driver = webdriver.Chrome('C:\\SeleniumDriver\\chromedriver.exe') driver.get('https://www.seleniumhq.org//') elem = driver.find_element_by_name("q") elem.send_keys("python") |
Locating Elements – Find Element By Tag Name
- You can find the element with the use of tag name as well.
- So you use this when you want to locate element by a tag name.
- With this strategy the first element with the given tag name will returned and again if no element have matching tag name, a no such element exception will be raised.
- So let’s implement it.
|
1 2 3 |
element = driver.find_element_by_tag_name("h2") |
The process of finding tag name of an element is same as we have seen in previous examples.
![]()
Here the tag name is h2. So you have to pass tag name h2.
Locating Elements – Find Element By Class Name
- You use this strategy when you want to locate element by class attribute name.
- And again with this strategy, first element with the matching class attribute will be returned.
- If no element has a matching class attribute name, a no such element exception will be raised.
- Let’s consider a webpage.

- So for locating p element, we have to write following code.
|
1 2 3 |
content = driver.find_element_by_class_name("content") |
Locating Elements – Hyperlink By Link Text
- You can locate hyperlink by link text.
- We use this when we know the link text use within an anchor tag.
- So with this strategy, the first element with the link text value matching the location will be returned.
- If no element has a matching link text attribute, a no element exception will be raised.
- So let’s understand it using an example.
For example, i am taking source code of link Download from seleniumhq.org webpage. The source code is as below.

So locating element using link text, you have to write following code.
|
1 2 3 4 5 6 7 8 9 10 |
from selenium import webdriver driver = webdriver.Chrome('C:\\SeleniumDriver\\chromedriver.exe') driver.get('https://www.seleniumhq.org//') element = driver.find_element_by_link_text("Download") element.click() |
And result of this code is –
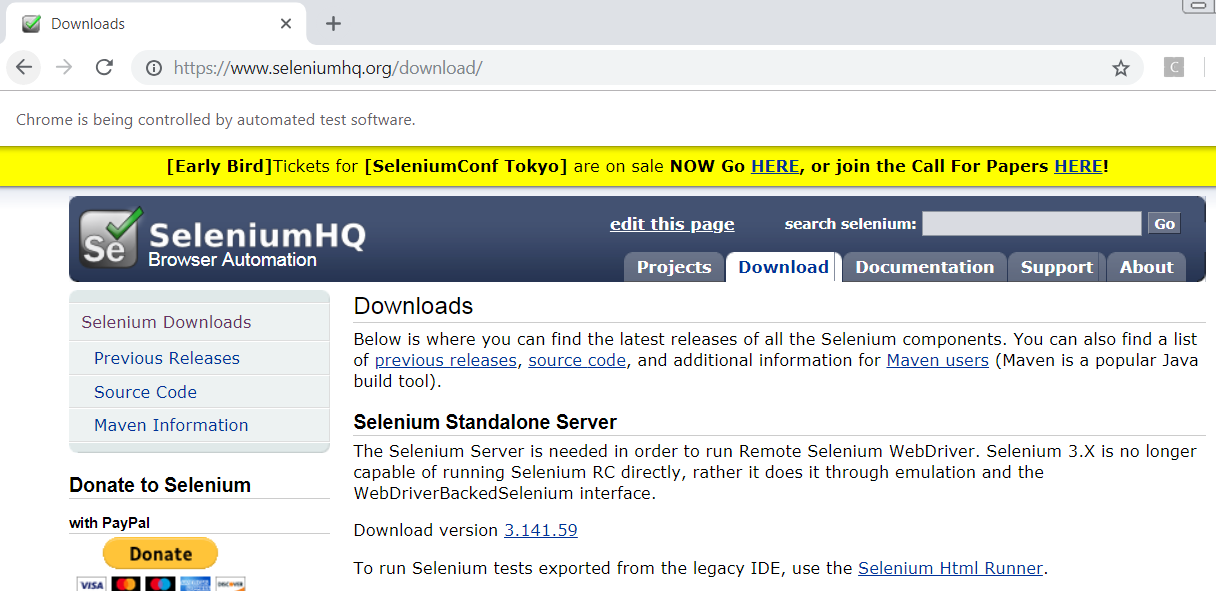
Here you can see, download link is clicked and as a result download page has been opened. Yeah this is pretty easy.
So these are ways through which you can locate elements in a particular webpage. So let’s move forward and see another things in browser automation.
Searching From Search Bar
In searching, we will see how to put a text in search bar and search them. So let’s start –
I am taking selenium.org webpage. Now find the id of search bar that is as follow –
![]()
Here id is q. Now write the following code for putting text into search bar.
|
1 2 3 4 5 6 7 8 9 10 |
from selenium import webdriver driver = webdriver.Chrome('C:\\SeleniumDriver\\chromedriver.exe') driver.get('https://www.seleniumhq.org//') SearchBar = driver.find_element_by_id("q") # locate element by id SearchBar.send_keys("python") # send keys |
- SearchBar.send_keys(“python”) will allow us to populate that text field where ever we want.
- And let’s check the result.
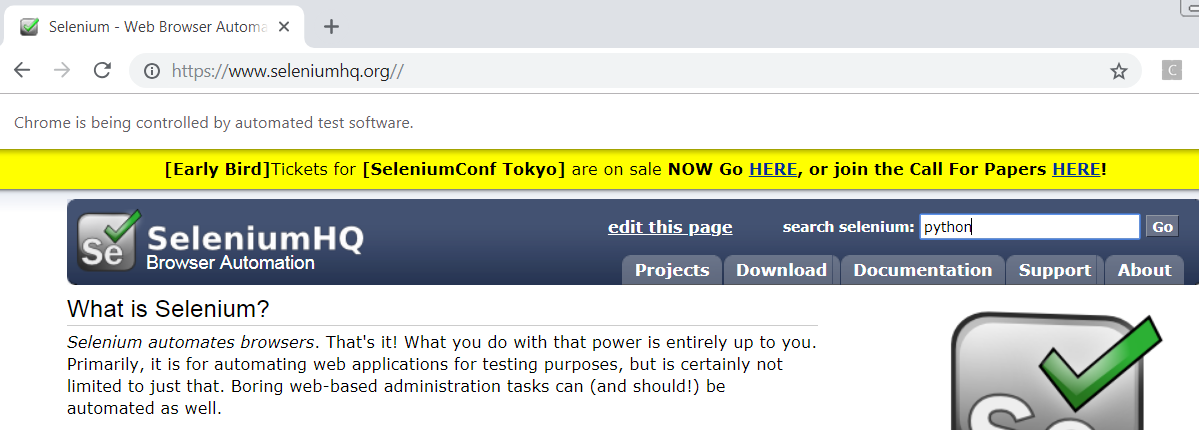
And now you can see that text is appeared in searchbar. And now we will implement enter process in search bar. So add these lines in previous code.
|
1 2 3 4 |
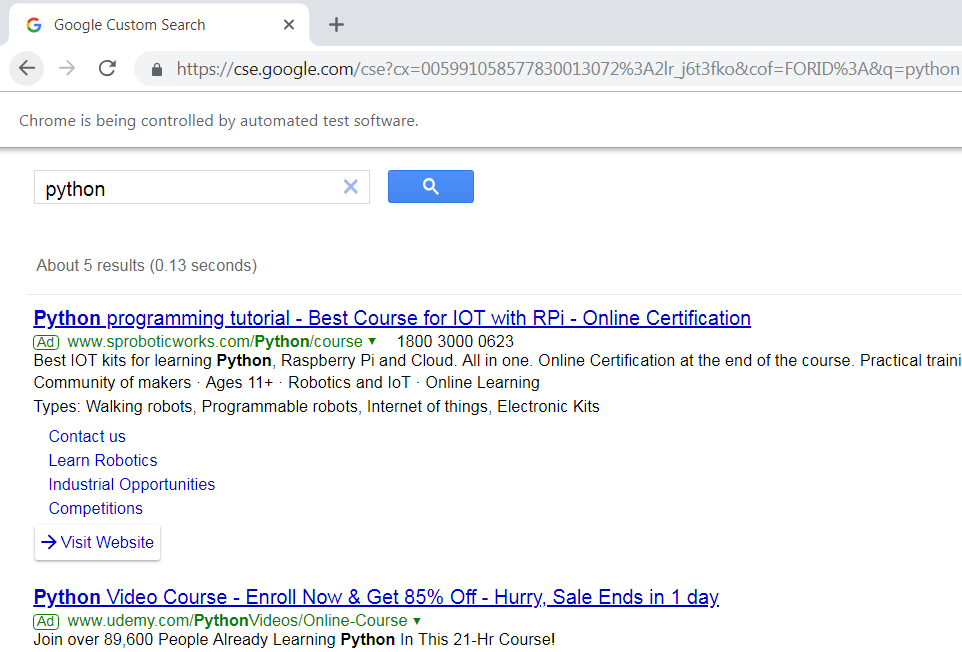
from selenium.webdriver.common.keys import Keys # import special key SearchBar.send_keys(Keys.ENTER) |
- SearchBar.send_keys(Keys.ENTER) will be simulated and it searches with google custom search. That’s awesome, so let’s check the result.
Conclusion
The conclusion is that Selenium is very popular and useful for browser automation. And the meaning of browser automation is –
- you can run python scripts
- Also you can go to webpages
- you can fill up forms
- And you can click an element
- you can fill up text fields and stuffs like that.
And in this tutorial, we have seen three most important things of browser automation.
- Opening browser and webpage
- Locating Elements
- Searching
Related Articles :
- Python NumPy Tutorial – Getting Started With NumPy
- Python Chatbot – Build Your Own Chatbot With Python
- Wikipedia API Python – Scrapping Wikipedia With Python
- Parsing HTML in Python using BeautifulSoup4 Tutorial
So guys, i hope you have enjoyed Python Browser Automation Using Selenium tutorial. If you found it helpful then please share and if you have any queries then leave your queries in comment section. And in upcoming tutorials, i will come with some examples of browser automation, till then stay tuned with Simplified python. Thanks


Good document .. if possible add some contents with user credentials usecase also.
Example : How to login to Gmail account and download the attachment and save in particular path of machine ..
Thanks…In upcoming tutorials, i will do so.